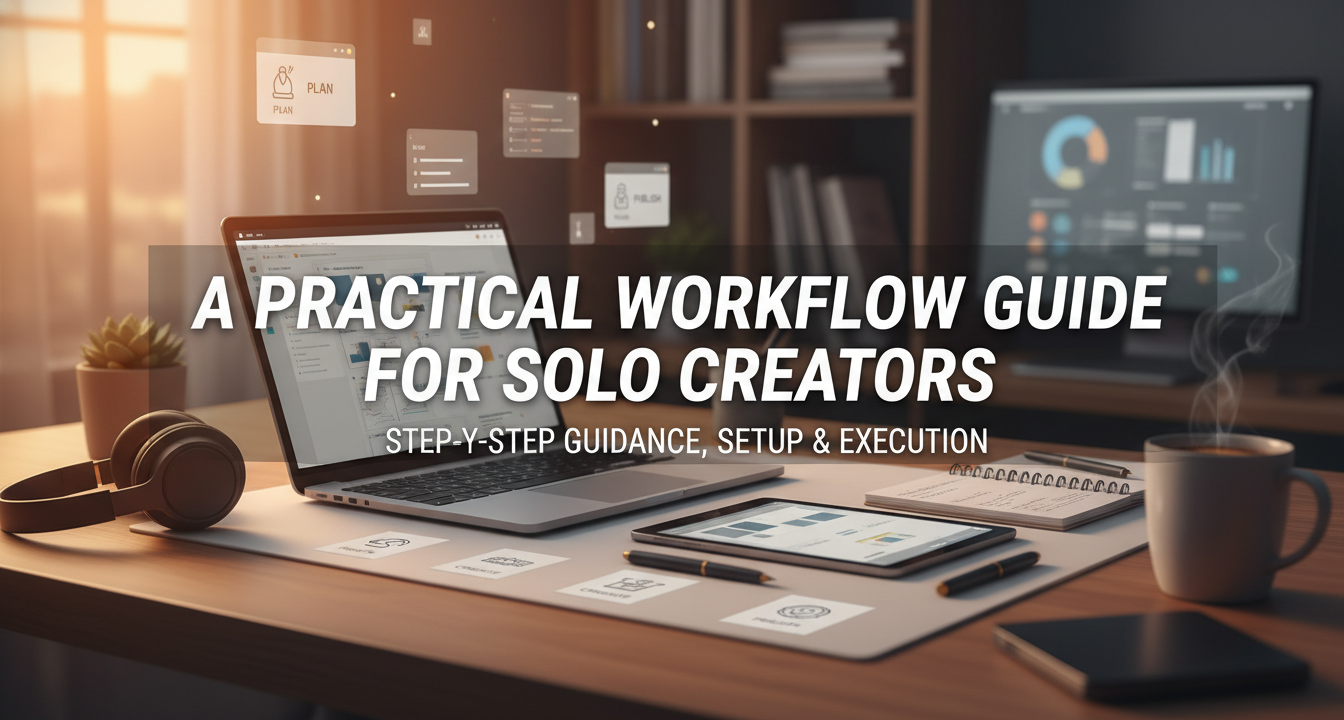
A Practical Workflow Guide for Solo Creators
Being a solo creator is a unique journey, a blend of passion, skill, and relentless dedication. You’re the visionary, the producer, the editor, and the marketer, all rolled into one. While this autonomy is incredibly rewarding, it also presents a significant challenge: managing an overwhelming array of tasks without a dedicated team. This is where a well-defined workflow becomes not just helpful, but absolutely essential. It’s the invisible scaffolding that supports your creative output, ensuring consistency, reducing burnout, and ultimately, allowing you to focus more on what you do best: creating.
This guide is designed to help you build, refine, and maintain a practical workflow that fits your unique creative rhythm. We’ll break down the entire creative journey into manageable phases, explore essential tools, and offer actionable strategies to boost your efficiency and impact.
Why a Structured Workflow is Your Best Ally
Many solo creators resist the idea of a ‘workflow,’ fearing it might stifle spontaneity or creativity. In reality, the opposite is true. A structured workflow frees up mental energy by automating decisions and establishing clear paths forward. Think of it as building a reliable engine for your creative vehicle. Without it, you’re constantly reinventing the wheel, leading to:
- Decision Fatigue: Too many choices about ‘what to do next’ can drain your energy before you even start creating.
- Inconsistency: Without a process, the quality and frequency of your output can fluctuate wildly.
- Missed Opportunities: Important steps like promotion or audience engagement might be overlooked in the rush to finish.
- Burnout: Juggling everything without a system is a fast track to exhaustion.
A robust workflow provides clarity, reduces stress, and allows you to scale your efforts without necessarily scaling your hours. It’s about working smarter, not just harder.
Deconstructing Your Creative Cycle: Four Core Phases
Every creative project, regardless of its medium or complexity, typically moves through a series of distinct phases. Understanding these phases is the first step to building an effective workflow. We’ve distilled them into four core areas:
- Ideation & Planning: The genesis of your project.
- Creation & Production: Bringing your ideas to life.
- Refinement & Editing: Polishing and perfecting your work.
- Distribution & Promotion: Sharing your creation with the world.
While these phases often overlap and sometimes loop back, recognizing them allows you to allocate specific tasks and tools to each, creating a more streamlined process.
Phase 1: Ideation & Planning – Laying the Foundation
This is where the magic begins, but also where many projects falter due to a lack of clear direction. Effective planning saves countless hours down the line.
Brainstorming & Concept Development
Start by capturing every idea, no matter how wild. Use tools that allow for free-form thought and easy organization.
- Mind Mapping: Tools like MindMeister or XMind can help you visually connect ideas.
- Digital Notebooks: Evernote, Notion, or OneNote are excellent for capturing thoughts, links, and snippets.
- Physical Notebooks: Sometimes, pen and paper are still the best for unfiltered ideation.
Once you have a pool of ideas, begin to refine them. Ask yourself:
- Is this idea viable?
- Does it align with my overall goals and audience?
- What problem does it solve or what value does it provide?
Research & Outline
Before diving into creation, gather necessary information and structure your project. For a blog post, this means researching keywords, gathering data, and outlining your main points. For a video, it might involve scripting and storyboarding.
Actionable Tip: Create a template for your planning phase. For example, a blog post template might include sections for: Title Ideas, Target Audience, Keywords, Main Argument, Key Takeaways, Call to Action, and a detailed Outline.

Phase 2: Creation & Production – Bringing Ideas to Life
This is the core creative work – writing, recording, designing, coding, or whatever your primary output entails. The goal here is to minimize distractions and maximize focus.
Dedicated Creation Blocks
Schedule specific, uninterrupted blocks of time solely for creation. Turn off notifications, close unnecessary tabs, and inform others of your ‘do not disturb’ time.
- Time Blocking: Dedicate 2-4 hour blocks to deep work.
- Pomodoro Technique: Work in focused 25-minute intervals with short breaks.
Leveraging the Right Tools
Your choice of tools can significantly impact your efficiency. Invest in software that streamlines your specific creative process.
- Writing: Google Docs, Scrivener, Ulysses, or even a simple text editor.
- Video: Adobe Premiere Pro, DaVinci Resolve, Final Cut Pro.
- Audio: Audacity, Adobe Audition, Logic Pro.
- Design: Adobe Photoshop, Illustrator, Figma, Canva.
Actionable Tip: Don’t get caught in ‘tool paralysis.’ Choose one primary tool for each core task and master it before exploring alternatives. The best tool is often the one you know how to use most effectively.
Phase 3: Refinement & Editing – Polishing Your Masterpiece
This phase is crucial for elevating your work from good to great. It involves reviewing, revising, and ensuring your output meets your quality standards.
The Power of the Fresh Eye
After completing the creation phase, step away from your work for a few hours, or even a day. This allows you to return with a fresh perspective, making it easier to spot errors or areas for improvement.
Structured Editing Process
Break down your editing into distinct passes:
- Content Edit: Does it make sense? Is the message clear? Is anything missing or redundant?
- Structural Edit: Is the flow logical? Are transitions smooth?
- Line Edit: Focus on sentence structure, word choice, and tone.
- Proofreading: Catch typos, grammar errors, and punctuation mistakes.
Consider using tools like Grammarly or Hemingway App for initial grammar and style checks, but always follow up with a manual review.

Seeking Feedback (Strategically)
For important projects, a second opinion can be invaluable. Choose trusted peers or mentors who can offer constructive criticism. Provide clear guidelines on what kind of feedback you’re looking for to make the process efficient.
Phase 4: Distribution & Promotion – Sharing Your Work
Creating something amazing is only half the battle; getting it seen by your audience is the other. This phase is about strategically sharing your work and engaging with your community.
Pre-Publication Checklist
Before hitting ‘publish,’ ensure everything is in order. This checklist can be adapted for any content type:
- SEO Optimization: Have I included relevant keywords in the title, headings, and body?
- Metadata Complete: Is the excerpt, featured image, and alt text filled out?
- Call to Action: Is there a clear next step for the reader/viewer/listener?
- Internal Linking: Have I linked to other relevant content on my platform?
- External Linking: Are all external links working and pointing to credible sources?
- Image/Media Optimization: Are all images compressed and properly attributed?
- Social Media Assets Ready: Are captions, hashtags, and custom graphics prepared for promotion?
- Email Newsletter Drafted: Is the email announcing the new content ready to send?
- Scheduled Promotion: Have I scheduled posts on relevant social media platforms?
Multi-Channel Distribution
Don’t just publish and hope. Actively distribute your content across channels where your audience resides. This might include:
- Your website/blog
- Email newsletter
- Social media platforms (e.g., Twitter, LinkedIn, Instagram, TikTok, YouTube)
- Relevant communities or forums
- Podcast directories
Actionable Tip: Repurpose your content. A blog post can become a series of social media threads, a short video, or a segment in a podcast. This maximizes the reach of your initial effort.
Tools of the Trade: Essential Software & Systems
While the specific tools will vary based on your niche, here are categories of tools that are universally helpful for solo creators:
- Project Management: Trello, Asana, ClickUp, Notion. These help you track tasks, deadlines, and project progress.
- Calendar & Scheduling: Google Calendar, Calendly. Essential for time blocking and managing appointments.
- Note-Taking & Knowledge Base: Notion, Evernote, Obsidian. For capturing ideas, research, and building a personal knowledge library.
- Communication: Slack, Discord (for community building), Email.
- Automation: Zapier, IFTTT. To connect different apps and automate repetitive tasks (e.g., posting new content to social media).
- Cloud Storage: Google Drive, Dropbox, OneDrive. For secure file storage and access from anywhere.
Actionable Tip: Start with one or two essential tools and integrate them fully into your workflow before adding more. Over-tooling can be as detrimental as under-tooling.
Optimizing for Efficiency: Batching, Time Blocking, and Automation
Once you have a workflow in place, the next step is to optimize it for maximum efficiency. This is where you reclaim precious hours.
Batching Similar Tasks
Instead of switching between different types of tasks (e.g., writing, then editing, then responding to emails), group similar tasks together. For example:
- Dedicate one day to all your content planning for the week/month.
- Set aside specific blocks for email responses.
- Batch all your social media scheduling for the week.
This reduces context-switching costs, which are a huge drain on productivity.
Time Blocking Your Schedule
Beyond just scheduling creative blocks, time block your entire week. Assign specific times for administrative tasks, client work, learning, and even personal breaks. Treat these blocks as non-negotiable appointments.
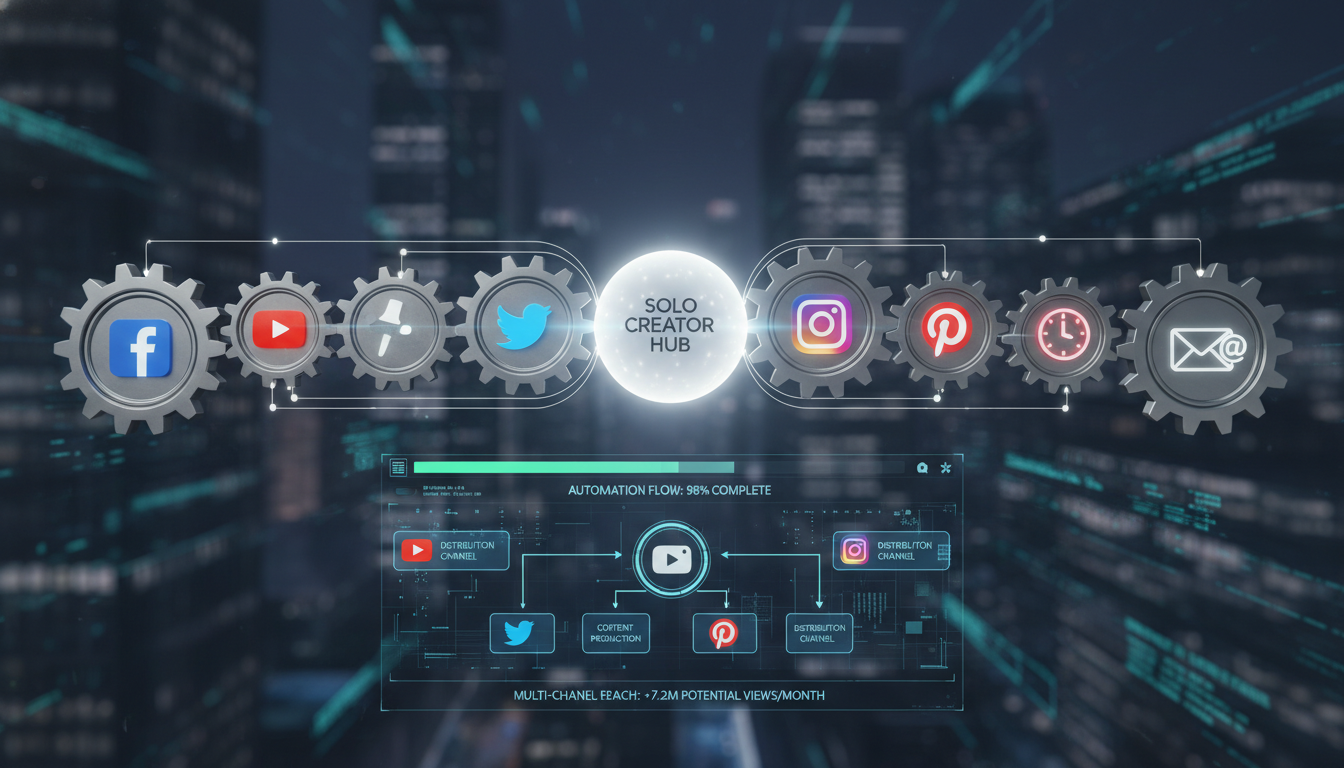
Strategic Automation
Identify repetitive tasks that don’t require your unique creative input and look for ways to automate them. Examples include:
- Automatically sharing new blog posts to social media.
- Setting up email sequences for new subscribers.
- Organizing files in cloud storage based on naming conventions.
Review & Iterate: Your Workflow is a Living Document
Your workflow isn’t a static set of rules; it’s a living, breathing system that should evolve with you and your creative business. Regularly review its effectiveness.
Monthly Workflow Audit
Set aside time each month to evaluate your workflow. Ask yourself:
- What parts of my workflow are working well?
- What bottlenecks or frustrations did I encounter?
- Did I meet my deadlines and goals? If not, why?
- Are there new tools or strategies I could integrate?
- Has my creative process or business needs changed?
Be honest with yourself. If a step feels clunky or unnecessary, don’t hesitate to adjust or remove it.
Embrace Experimentation
Don’t be afraid to try new approaches. Maybe a different planning method, a new editing technique, or a different social media strategy could yield better results. The goal is continuous improvement, not rigid adherence to a system that no longer serves you.
Conclusion: Empowering Your Creative Journey
Building a practical workflow as a solo creator is an investment in your future self. It’s about creating a sustainable, enjoyable, and productive creative practice. By understanding the phases of creation, leveraging the right tools, optimizing your time, and committing to continuous improvement, you’re not just making more content; you’re building a more resilient and impactful creative career. Take these principles, adapt them to your unique needs, and watch as your creative potential truly flourishes.